Mounting Pneumatic Timers with Pneumatic Indicators: Comparing Panel, Subplate, and Manifold Installations
Selecting the right mounting method for a pneumatic timer affects installation, accessibility, and long-term serviceability. It also determines how clearly operators can see and use pneumatic indicators, such as front dials, scale windows, and position markings that confirm settings at a glance. A poor choice can make adjustments harder, slow troubleshooting, or complicate routine maintenance. With multiple options available, including panel, subplate, and manifold mounting, engineers should match the mounting style to the application, the enclosure layout, and how the equipment is actually used.
Comparing common mounting methods for pneumatic timers and noting how different Ellis/Kuhnke Controls series accommodate them helps designers choose based on real operating conditions. When professionals understand the trade-offs around accessibility, space, maintenance, and day-to-day pneumatic controls, they can build systems that are easier to run, easier to service, and more consistent over time.
Overview of Mounting Options
Three primary mounting methods are common for pneumatic timers, and each supports different priorities.
Panel mounting
Panel mounting integrates the timer into an operator panel or control cabinet. The Ellis/Kuhnke 51020 Series is a typical example. It is designed for installation through a panel cutout and features a front dial with vertical scales under a clear lens, which provides practical pneumatic indicators for the operator. Supply and output ports are located at the rear, keeping tubing protected and leaving only the adjustment interface visible. When supply pressure at port one is applied, the timing cycle begins; removing it resets the unit. Panel mounting is often the best fit when operators need frequent adjustments or must confirm settings during operation.
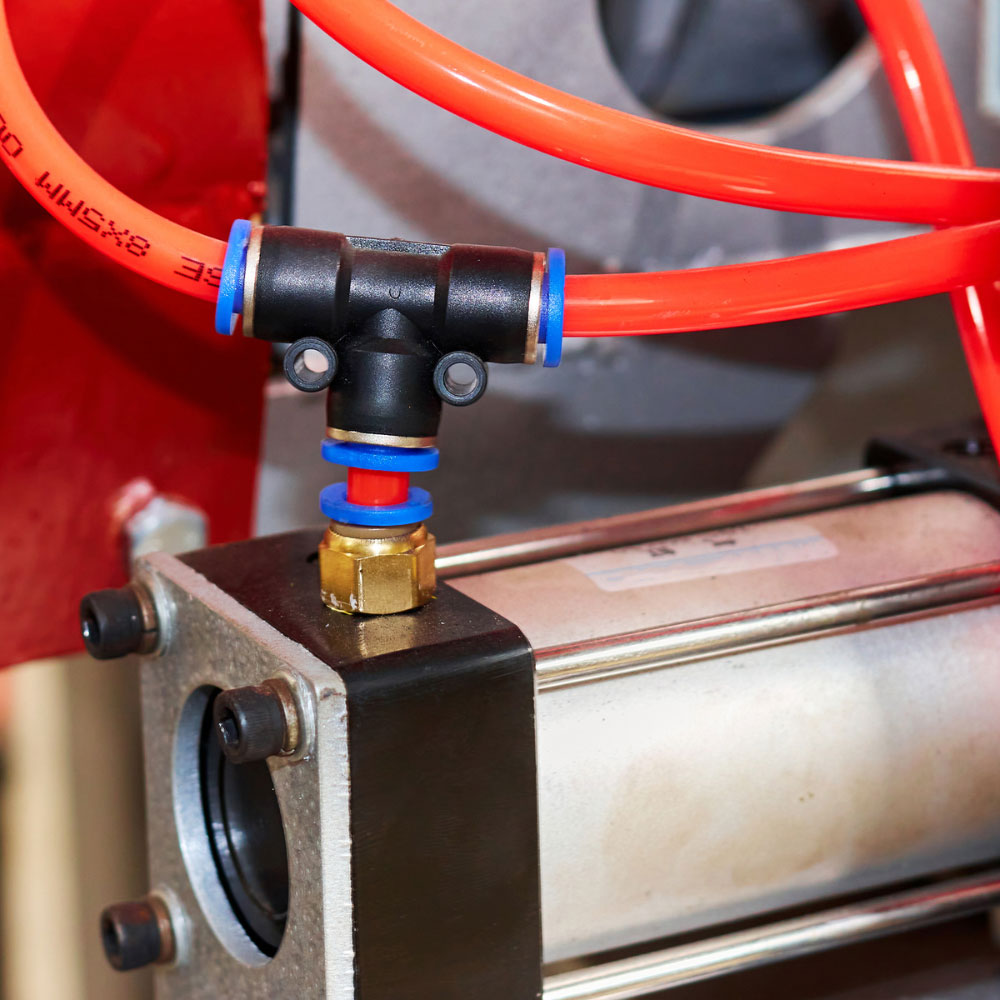
Subplate mounting
Subplate mounting uses a base with predrilled ports to which the timer attaches. The PMT Series includes a subplate with port options for either 1/8 NPT or 10-32 connections and offers side or bottom supply. This setup allows the timer to be removed quickly for maintenance or replacement without disturbing the tubing. Subplate mounting works well in modular systems where components must be swapped with minimal downtime.
Manifold mounting
Manifold mounting attaches multiple timers to a common block that shares a common supply and exhaust passage. The 51 Series can be configured for manifold mounting and provides adjustable time-delay functions with normally open or normally closed 3-way valves. Manifolds reduce tubing and fittings, but a shared supply means that pressure variations or contamination can affect all connected units. Manifold mounting is typically chosen for compact assemblies that require several timers operating in parallel.
Factors to Consider When Selecting Mounting
Choosing the right mounting method comes down to a few practical questions.
Operator accessibility
Panel-mounted timers provide direct access to the timing dial and pneumatic indicators, which support fast changeovers and quick verification. Subplate or manifold-mounted timers may be inside the machine or cabinet, which can slow down adjustments and troubleshooting.
Space constraints
Manifolds save space by consolidating multiple timers into a single block. Panel mounting uses front-panel space while keeping the footprint behind the panel relatively clean. Subplate mounting requires clearance for the base and enough room to lift the timer off for service.
Maintenance and replacement
Subplate mounting usually simplifies removal and replacement. In manifold systems, servicing one timer may require shutting down adjacent circuits, depending on the layout. Panel-mounted units can require access to both the front and the rear of the panel to disconnect tubing and hardware.
Connection standards and routing
Confirm the port types and tube routing before committing to a layout. The 51020 Series uses rear ports, while PMT Series subplates provide flexible connection options; clean routing, labeling, and strain relief are supported across all mounting methods.
Environmental exposure
Suppose the timer is exposed to dust, washdown, or vibration; placement matters. Panel mounting behind a sealed enclosure can protect the dial and indicators. Manifolds placed inside protected cabinets can also reduce exposure and prolong service life.
Installation Considerations
Panel mounting best practices
Cut the panel opening to the manufacturer’s specifications to ensure proper fit and alignment. Use the provided hardware, and support the rear tubing so the ports are not carrying mechanical load. Position the timer within normal operator sightlines so settings can be confirmed through the lens, using the pneumatic indicators without guesswork. Label the function and timing range clearly to reduce operator error.
Subplate mounting best practices
Mount the subplate to a rigid surface and confirm port alignment before tightening down fittings. Route tubing cleanly and label connections so the timer can be removed without confusion later. If the timer resets when the control signal is removed, ensure the control line is accessible and protected. Keeping spare subplates available can reduce downtime during service.
Manifold mounting best practices
Plan the layout so each timer remains reachable for adjustment, inspection, and replacement. When possible, add isolation capability to shut off individual circuits for service. Mark each timer’s function and normal setting clearly, especially when different stations use different delays. Because all units share the supply, install filtration and regulation at the manifold inlet to keep timing more consistent across all connected devices.
Choosing the Right Mounting Method For Pneumatic Indicators and Timers
Mounting choices directly influence operator workflow, maintenance time, and system reliability. Panel mounting favors visibility and frequent adjustment, subplate mounting favors fast service, and manifold mounting favors compact assemblies with multiple timers. Match the mounting method to how the machine is operated, how often settings change, and how quickly components must be serviced, then confirm porting and enclosure constraints before finalizing the build.
Frequently Asked Questions
What is the difference between panel and subplate mounting?
Panel mounting places the timer’s dial on the operator panel with ports at the rear, making adjustments accessible during operation and keeping pneumatic indicators visible. Subplate mounting attaches the timer to a base with fixed ports, allowing faster removal without disturbing tubing.
How do I decide between manifold and subplate mounting?
Choose a manifold when multiple timers share a common supply and space is limited. Choose a subplate when you expect frequent service, fast swap-outs, or easier isolation of individual timers without redesigning the entire assembly.
Can a manifold-mounted timer be converted to a panel mount?
It depends on the model. Some series are available in both manifold and panel configurations, but conversion is not always practical. Verify available versions or kits before assuming interchangeability.
Does the mounting method affect performance?
The timing function remains fundamentally the same, but usability, visibility of pneumatic indicators, and serviceability can change dramatically. A good mounting decision reduces adjustment errors and makes it easier to keep timing consistent over the life of the system.
Related Reading


- Ellis/Kuhnke Controls
132 Lewis Street Unit A-2, Eatontown, N.J. 07724
Phone: 1-800-221-0714
Fax: 732-291-8154
Email: Info@ekci.com
- Home Pneumatic Controls Technical Info CAD Drawings Contact Us Pneumatic Timers Blog Site Map