Rotor-Stop Pneumatic Timers: Precision Control for Critical Processes
Complex mechanical processes often rely on timed sequences that must be completed before the next step can begin. In packaging, safety interlocks, or assembly lines, a valve may need to remain actuated until a downstream sensor confirms a condition has been met. Using the wrong device can cause premature resets, jams, wasted product, or unsafe conditions. Precision and repeatability matter, yet many pneumatic delays automatically return to their home position at the end of the cycle.
The rotor-stop function available on some pneumatic timers solves this problem by allowing the timer to hold its output state indefinitely. Understanding how the rotor-stop feature works, when to use it, and how to integrate it into a pneumatic control system helps engineers improve safety and process reliability without adding electrical complexity.
Understanding Pneumatic Timers and Rotor Stop
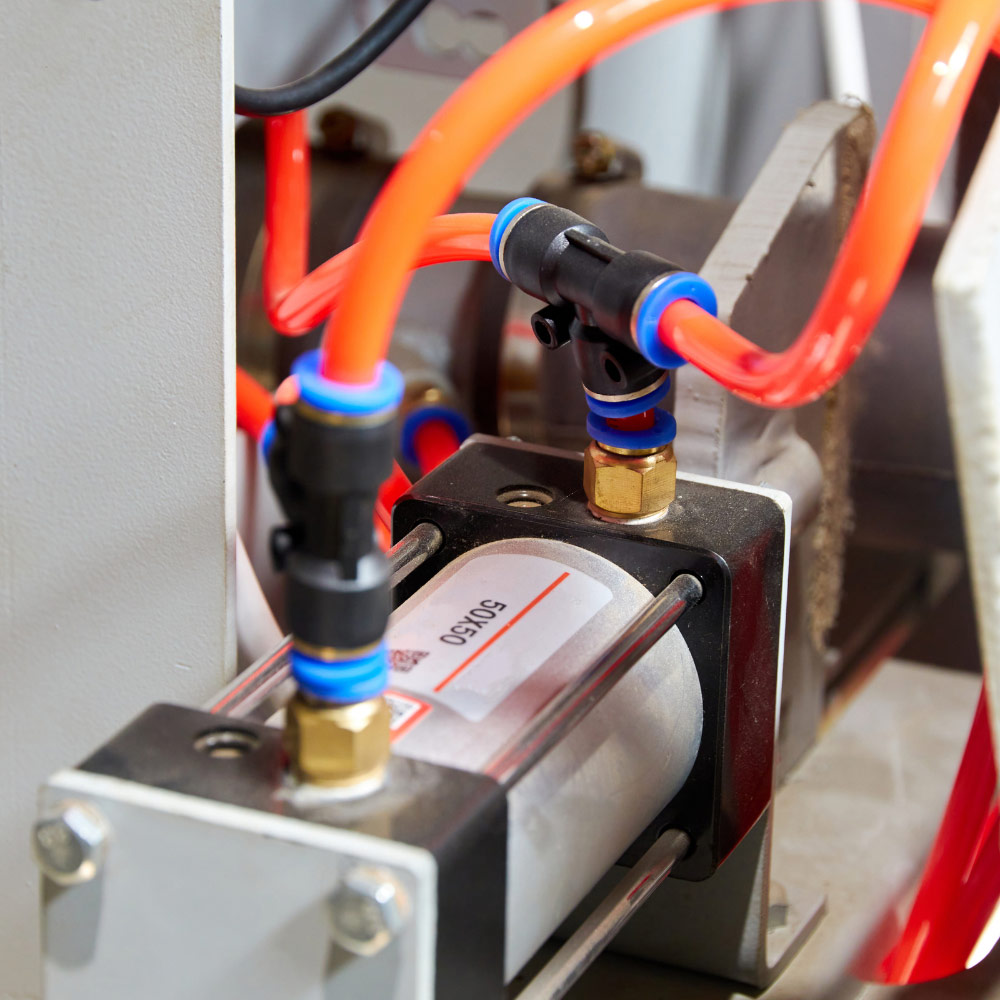
Pneumatic timers create adjustable delays by throttling air through calibrated mechanisms. For example, the Ellis/Kuhnke 54 Series uses a regulated air motor and gear chain, an adjustable front knob, and a clearly marked dial to set and display the timing range. These devices are entirely pneumatic and incorporate a 4-way valve that can provide either an on-delay or off-delay function. The timer automatically resets itself when the cycle ends.
The rotor-stop option modifies this behavior. When enabled, the timer’s rotor stops at the end of the timing period instead of returning immediately. A separate port allows a pilot signal to release the rotor and return the valve to its initial position. According to the product specification, the rotor-stop device ensures the output remains in its actuated state until manually or remotely reset. This change turns a typical momentary delay into a latching delay that waits for confirmation before proceeding.
Why and When to Use Rotor Stop
Rotor-stop timers solve a specific coordination problem. Without this feature, a pneumatic timer will return to its original position as soon as the delay expires. In multi-step systems, that can prematurely vent an actuator or unclamp a part before it is safe. Processes with strict sequencing, such as heat sealing, adhesive curing, or chemical dosing, require the valve to remain engaged until an external condition is met.
When a timer includes a rotor stop, the output remains actuated at the end of the delay. The next step proceeds only when a separate pilot signal arrives from a sensor, an operator push button, or a PLC-controlled solenoid. This design gives engineers explicit control over when to release pressure, enhancing safety and avoiding misaligned parts. The rotor-stop option is also valuable for emergency interlocks. Once the delay cycle completes, the system halts and waits for an operator to verify that it is safe to continue.
Integrating Rotor Stop into Pneumatic Controls
Implementing a rotor-stop timer requires careful consideration of the control circuit. The timer itself functions like a standard on-delay or off-delay device; the difference lies in the additional rotor-stop port. When selecting a model such as the 54 Series with this option, engineers should plan for two control lines: one to supply the timing air and one to reset the rotor.
- Supply and Control Ports: Connect the main supply to the timer’s inlet and the controlled device to its outlet. Ensure the supply pressure is within the manufacturer’s recommended range. For the 54 Series, this means using regulated compressed air so that the air motor and gear chain operate consistently.
- Timing Adjustment: Use the front knob to set the delay. The dial on the 54 Series displays both the set time and the remaining time during operation. Record these values in maintenance logs to aid future troubleshooting.
- Rotor-Stop Reset Line: Connect the rotor-stop port to a pilot valve or sensor. When the delay expires, the timer will stop in the actuated position. Only when the reset line receives a signal will the rotor return to its home position. Ensure the pilot valve is properly sized and that its control logic aligns with the process requirements.
- Safety and Diagnostics: Include a manual override or visual indicator to show when the rotor-stop is engaged. This helps operators identify when the system is waiting for a reset signal.
Engineers should also consider the environment. Pneumatic timers operate reliably in hazardous areas because they use no electricity, but the supply air must be clean and dry. Filtering and regulation prevent contamination that could slow the rotor or affect timing accuracy.
Maintenance and Safety Considerations
Like any mechanical device, rotor-stop timers require routine maintenance to perform reliably. Regularly inspect the air lines for leaks, as a loss of pilot pressure can inadvertently reset or prevent release. Lubricate the internal components if recommended by the manufacturer. The 54 Series timer’s design is robust, but its gear chain and air motor will wear over time if contaminants enter the system.
Test the rotor-stop function during scheduled downtime. Start the timer, let it time out, and verify that the output remains actuated. Then apply the reset signal and confirm that the valve returns to its idle position. Documenting these tests helps ensure compliance with safety protocols.
Lastly, ensure all personnel understand how the rotor-stop works. Unexpected holds can confuse operators unfamiliar with the feature. Provide clear labels and training so that anyone working with the system knows when and how to reset the timer.
Next Steps for Implementing Rotor-Stop Pneumatic Timers
Rotor-stop pneumatic timers give process engineers control over when a timed event ends, improving safety and coordination. By holding an actuator in its engaged state until a pilot signal resets it, these devices prevent premature release of valves and clamps. They are ideal for applications requiring confirmation or manual intervention between steps. To use them effectively, design the control circuit with dedicated reset lines, maintain clean air supply, and train operators on the device’s behavior.
Frequently Asked Questions
How does the rotor-stop function work in a pneumatic timer? The rotor-stop option halts the internal rotor at the end of the timing cycle. Instead of automatically resetting, the timer’s output remains actuated until a separate pilot signal is applied to the reset port. This makes the timer behave like a latch, ensuring a process step is held until confirmation.
When should I use a rotor-stop timer instead of a standard on-delay or off-delay timer? Choose a rotor-stop timer when a process requires a timed delay followed by a hold state. Applications include safety interlocks, sequential operations, and situations where a device must remain actuated until a sensor or operator indicates it is safe to release.
How do I reset a rotor-stop timer after the timing period ends? Apply a pneumatic pilot signal to the dedicated rotor-stop port. This releases the rotor and allows the internal mechanism to return to its starting position. Without this signal, the timer will continue to hold its output state.
What maintenance does a rotor-stop timer require? Maintenance focuses on air quality and mechanical wear. Keep the air supply clean and dry, inspect pilot lines for leaks, and periodically test the rotor-stop function. Lubricate and replace internal components as recommended by the manufacturer.
Related Reading


- Ellis/Kuhnke Controls
132 Lewis Street Unit A-2, Eatontown, N.J. 07724
Phone: 1-800-221-0714
Fax: 732-291-8154
Email: Info@ekci.com
- Home Pneumatic Controls Technical Info CAD Drawings Contact Us Pneumatic Timers Blog Site Map