How to Read Pneumatic Timer Settings in the Field
Field technicians frequently encounter challenges when interpreting pneumatic timer settings on control systems—misreading these settings can directly lead to equipment malfunctions, operational delays, and significant safety hazards. Accurately understanding pneumatic timers is essential because even minor errors in interpretation can escalate into larger system issues. Pneumatic timer settings are best read through a straightforward, step-by-step approach: confirming timer type and range, accurately identifying dial indicators, carefully reading and interpreting numerical scales, consulting manufacturer documentation when necessary, and validating the timer’s performance in real-world conditions. By systematically following this structured process, technicians can confidently maintain precise control over their pneumatic systems, ensuring consistent, safe, and reliable operations.
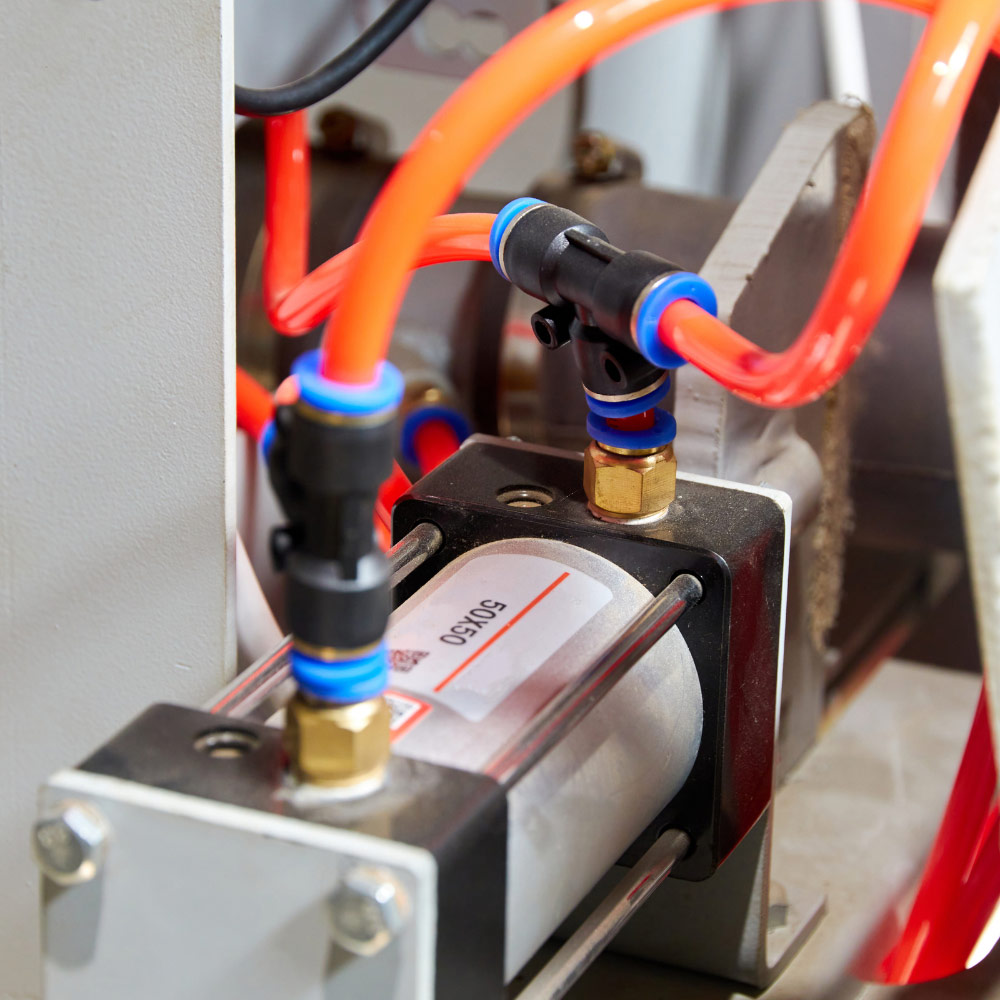
Step-by-Step Guide to Reading Pneumatic Timer Settings
Accurately reading timer settings requires more than simply glancing at a dial—it requires careful attention to detail and methodical verification. The following step-by-step approach helps ensure reliability and consistency.
1. Identify the Timer Type and Range
Before interpreting any settings, it's critical to confirm precisely what type of pneumatic timer you’re dealing with and its operational range. Incorrect assumptions at this step often lead to significant timing errors.
Important considerations include:
- Clearly determine whether your timer is an On-Delay (delays before activating) or Off-Delay (delays before deactivating).
- Verify the timer's measurement units—seconds, minutes, or hours—by referencing the device labeling or model specifications.
- Confirm the timer’s precise operational range, ensuring you understand how the numerical settings correlate with actual delays.
By accurately establishing these details upfront, you avoid misinterpretations that could lead to operational errors or hazards.
2. Locate the Timing Dial or Indicator
It is essential to correctly locate and understand the type of dial or indicator your pneumatic timer uses. Technicians often encounter multiple timer designs in the field, each with unique methods of displaying their settings.
Standard timer dials and indicators include:
- Single-turn Rotary Knobs:
- These straightforward designs feature a single numeric scale indicating the set delay clearly in seconds or minutes.
- Multi-turn (Micrometer) Dials:
- These precision knobs allow detailed adjustment through multiple turns, often 8–10 rotations.
- Numeric markings indicate fractional turns, demanding careful counting of complete rotations and fractions to interpret accurately.
- Dual-scale Indicators:
- Featuring two separate scales: one showing the set delay (setpoint) and another displaying elapsed or remaining time.
- Usually differentiated by color or labeling to avoid confusion.
Ensure that you precisely identify your timer's dial type before proceeding to read the settings.
3. Read the Set Time Value
Interpreting the actual numeric value of the pneumatic timer’s settings requires careful attention to detail. Misinterpretations at this step can result in significant deviations from expected operational timing.
Appropriate reading methods per dial type:
- Single-turn Rotary Dial:
- Directly read the numeric marking indicated by the pointer or knob.
- Ensure your viewpoint is perpendicular to avoid misalignment or parallax errors.
- Multi-turn (Micrometer) Dial:
- Document the dial number along with total rotations carefully.
- Always reference manufacturer-provided conversion charts to interpret dial positions accurately.
- Dual-scale Indicators:
- Clearly differentiate between the stationary setpoint indicator and the moving elapsed-time pointer.
- Read the stationery indicator to determine the preset delay accurately.
Taking your time here significantly reduces the risk of errors and ensures accurate timer adjustments.
4. Consult Documentation or Reference Charts
When pneumatic timers do not present direct numeric timing values, referencing the manufacturer’s provided documentation becomes essential. Many devices explicitly include calibration charts or timing curves for translating dial readings into actual delay times.
Follow these practical steps:
- Reference manufacturer-provided timing charts included in equipment manuals or printed directly on the device itself.
- Utilize provided charts specifically to interpret multi-turn dials correctly.
- Keep a copy of reference documentation accessible on-site for quick consultation during field adjustments.
Careful documentation helps ensure that your dial interpretation accurately matches operational requirements.
5. Verify Observed Setting (Recommended Practice)
Even after carefully reading the timer settings, actual verification is crucial. Field conditions can slightly influence pneumatic timers' accuracy, making it essential to verify that the settings perform as intended in practice.
Practical verification steps include:
- Safely activating the timer under normal operational conditions.
- Measuring the actual delay using a reliable external timing device (such as a stopwatch or digital timer).
- Adjusting the timer incrementally and retesting to achieve precise timing accuracy.
Regular verification ensures that the pneumatic timer reliably meets your system's operational needs and enhances long-term performance consistency.
Common Mistakes When Reading Timer Settings
Even skilled technicians occasionally make mistakes reading pneumatic timers. Recognizing these common pitfalls can significantly improve accuracy:
- Misinterpreting the Timer Scale or Units:
- Verify timer scales and unit types explicitly; assumptions can lead to serious timing errors.
- Ignoring Multi-Turn Indicators:
- Always account for all rotations on multi-turn dials. Missing rotations can severely misrepresent actual delay.
- Confusing Setpoint with Running Indicators:
- Be vigilant in differentiating stationary set indicators from moving elapsed-time indicators, especially in dual-scale devices.
- Environmental Reading Errors:
- Maintain clarity by cleaning lenses and ensuring proper lighting and viewing angles, eliminating parallax and readability errors.
- Assuming Perfect Accuracy:
- Understand timers have inherent tolerances (±1–2%). Always confirm actual timing through measurement, particularly in precise or safety-critical applications.
Reliable Interpretation for Optimal Pneumatic Control
Accurately interpreting pneumatic timer settings is a cornerstone of safe, efficient pneumatic control system operation. Field technicians can ensure consistent and reliable timer functionality by understanding how these timers function, methodically following clear reading procedures, carefully avoiding common pitfalls, and regularly verifying actual performance.
Precision in reading pneumatic timers leads directly to operational reliability, minimized downtime, and enhanced safety. By integrating these best practices into regular field routines, your team significantly improves the dependability and accuracy of your pneumatic control systems.
Related Reading


- Ellis/Kuhnke Controls
132 Lewis Street Unit A-2, Eatontown, N.J. 07724
Phone: 1-800-221-0714
Fax: 732-291-8154
Email: Info@ekci.com
- Home Pneumatic Controls Technical Info CAD Drawings Contact Us Pneumatic Timers Blog Site Map