Fixing Inaccurate Delays in Pneumatic Timers: Practical Troubleshooting Guide
When a pneumatic timing device delivers a delay that is shorter, longer, or inconsistent, the entire control system can suffer. Valves actuate at the wrong moment, clamps release unexpectedly, and production throughput falls. The root cause of timing errors is often hidden in the air supply, the timer’s internal mechanism, or the way the system is installed. Understanding how these devices generate delays is the first step toward reliable control.
Engineers and maintenance technicians need a systematic approach to diagnose and correct inaccurate delays in pneumatic timers. Understanding how different timer designs work, why timing errors occur, and following a step-by-step process for troubleshooting and maintenance helps teams improve process reliability without resorting to more complex electronic alternatives.
How Pneumatic Timers Generate Delays
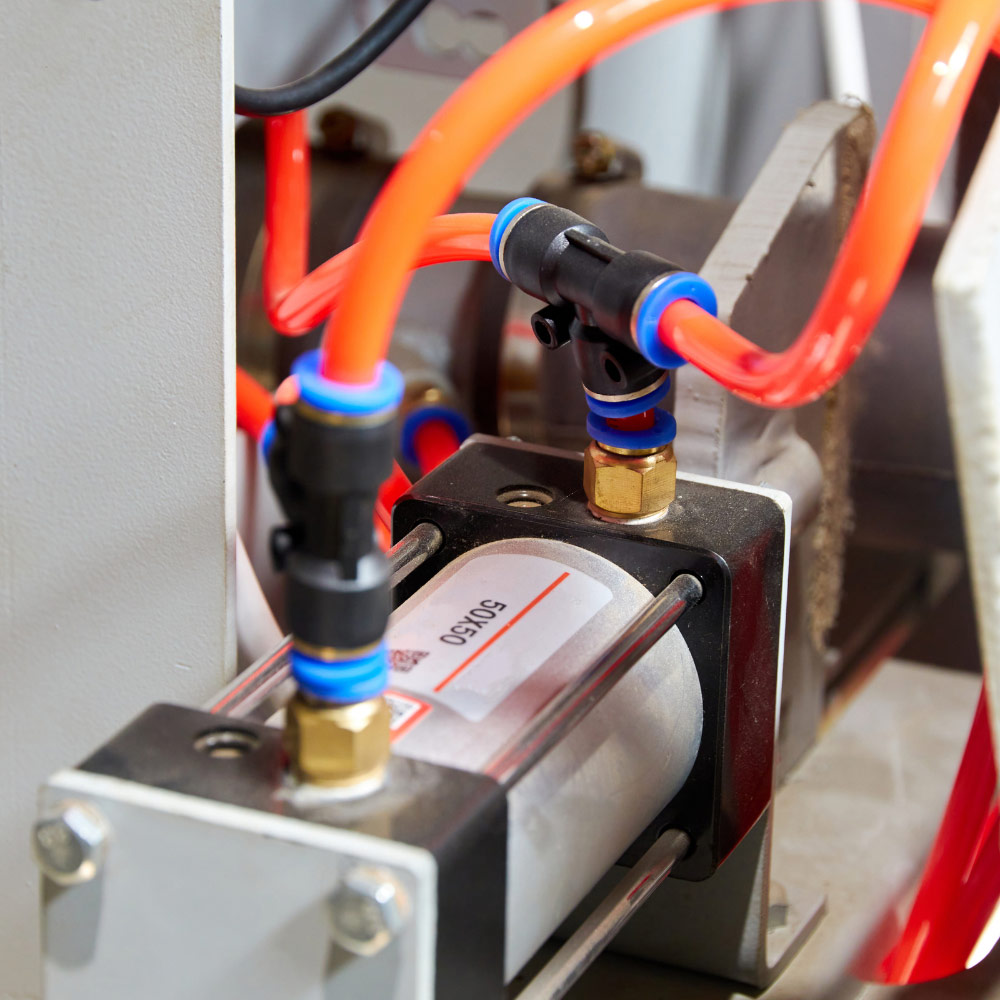
Pneumatic timers use mechanical elements driven by compressed air to produce a time delay. The Ellis/Kuhnke 51 Series provides adjustable on-delay and off-delay functions using either normally open or normally closed 3-way valves. The timing period is set via an adjustable knob, and the units automatically reset after completion. These timers can be manifold-mounted and are suitable for vacuum service, making them versatile across applications.
Panel-mounted units like the 51020 Series employ a front dial and vertical scale enclosed under a clear lens. When supply pressure is introduced at port 1, timing begins; removing the supply pressure resets the device. The PMT Series uses a separate control signal to create a vacuum that starts the timing cycle and resets automatically when the vacuum signal is removed. The PT Series uses a floating spool valve and diaphragm to provide on-delay or off-delay functions with a wide range of control pressures.
In each case, the delay depends on the controlled flow of air through internal passages and the operation of pistons, diaphragms, or gear mechanisms. Because these parts rely on consistent pressure and clean air, any changes in supply or contamination can affect timing accuracy.
Root Causes of Timing Variations
Timing errors usually trace back to one of the following factors:
- Supply pressure fluctuations: All pneumatic timers rely on a stable pressure to drive their internal mechanisms. If the compressor output varies or if there is a pressure drop due to undersized piping, the timing may speed up or slow down.
- Contamination and moisture: Dust, oil, or water in the air line can clog throttle orifices and slow mechanical movement. The PT Series uses a floating spool valve and a diaphragm that can stick if contaminants are present.
- Control signal leaks: For devices like the PMT Series, a separate control signal creates a vacuum to start timing. Leaks in the control line will cause erratic start and reset points, resulting in inconsistent delays.
- Dial miscalibration or wear: Over time, the mechanical linkage between the adjustment knob and the timing mechanism can wear. On panel-mounted units such as the 51020 Series, the dial face is visible behind a clear lens. If the pointer has moved or the dial has been tampered with, the indicated setting may not correspond to the actual delay.
- Incorrect mounting or orientation: Some timers are designed to be mounted in a specific orientation. For example, PT Series units offer both panel and manifold mounting with horizontal calibration; mis-mounting can affect their operation.
Step-by-Step Troubleshooting Process
Follow these steps to diagnose and correct inaccurate delays:
- Verify supply pressure: Use a pressure gauge at the timer inlet to confirm that pressure is within the recommended range and remains stable during operation. Adjust regulators or repair leaks as needed.
- Inspect and clean air supply: Install an air filter and water separator upstream. Purge the line of moisture and particles. If the timer still runs slowly or sticks, disassemble it carefully and clean internal passages according to the manufacturer’s manual.
- Check control signals: For timers that require separate control ports (e.g., PMT Series), examine tubing for cracks and ensure that vacuum or pilot signals are strong and leak-free.
- Calibrate the dial: On panel-mounted units like the 51020 Series, compare the indicated setting with the actual delay. Adjust as necessary. If the pointer has come loose under the clear lens, reposition it correctly.
- Test orientation and mounting: Confirm that the timer is mounted as specified. For PT and 51 Series timers, this may mean horizontal calibration and proper panel or manifold mounting.
- Replace worn components: If cleaning and adjustment do not restore accuracy, internal parts may be worn. Diaphragms, o-rings, or gear trains can deteriorate. Replace them with genuine parts or consider replacing the entire timer if refurbishment is not economical.
Preventive Maintenance and Calibration
To avoid future timing errors, implement a preventive maintenance program. Schedule periodic inspections of supply pressure and air quality. Replace filters regularly and drain condensation from lines. For timers used in critical processes, perform calibration checks at fixed intervals. Record the results and adjust settings as needed.
Consider using timers with built-in visual indicators. For example, the 54 Series displays both the set time and the remaining time. This allows operators to verify correct operation at a glance and detect anomalies early.
Others may require electronic timers, which offer finer resolution but introduce electrical components that are unsuitable for hazardous areas. Evaluate your environment, precision needs, and maintenance capabilities before choosing a replacement.
Next Steps for Troubleshooting Pneumatic Timers
Inaccurate delays disrupt workflows and can damage equipment. Understanding how pneumatic timers produce their delays and recognizing the factors that affect accuracy enable technicians to troubleshoot effectively. The steps outlined here—checking pressure, cleaning air supply, verifying control signals, calibrating dials, and replacing worn parts—offer a path to restore proper function. When maintenance cannot correct the issue, selecting a timer with features better matched to your needs will improve reliability.
Frequently Asked Questions
Why is my pneumatic timer slower than the set time? A delay that runs longer than expected often indicates low supply pressure, restricted tubing, or contamination in the timer. Check the inlet pressure with a gauge and inspect the air lines and filter for blockages or moisture.
Can contamination in the air line affect timer accuracy? Yes. Dust, oil, or water can clog orifices, causing diaphragms or spools to stick. Installing a filter and water separator upstream, and performing regular cleaning, reduces this risk.
How often should I calibrate a pneumatic timer? Calibration frequency depends on usage and criticality. For production equipment, verify the timing against a stopwatch at least quarterly. Adjust the dial as needed and document the results to track drift over time.
When should I replace a pneumatic timer rather than repair it? If the timer consistently fails accuracy tests despite clean air and proper pressure, internal wear may be beyond economical repair. In such cases, replacing the timer with a new unit or a model better suited to your environment is more cost-effective.
Related Reading
- Pneumatic Timers: How They Work and How to Choose the Right Model
- Pneumatic Controls: Reliable Power for Industrial Automation
- Prolonging Pneumatic Counter Life: Maintenance and Calibration Strategies for Long-Term Reliability
- Diagnosing Inaccurate Counts: How Wear, Contamination, and Improper Maintenance Cause Pneumatic Counter Errors


- Ellis/Kuhnke Controls
132 Lewis Street Unit A-2, Eatontown, N.J. 07724
Phone: 1-800-221-0714
Fax: 732-291-8154
Email: Info@ekci.com
- Home Pneumatic Controls Technical Info CAD Drawings Contact Us Pneumatic Timers Blog Site Map